A DIY Masterpiece: Creating Your Own Everlasting Wire and Nail Polish Flowers
Want to capture the perfect bloom forever? DIY wire and nail polish flowers let you create stunning, permanent floral arrangements that look like stained glass. This simple craft, inspired by "dip art," only requires wire and nail polish to transform a simple coil into a beautiful, lasting work of art.
9/7/20256 min read
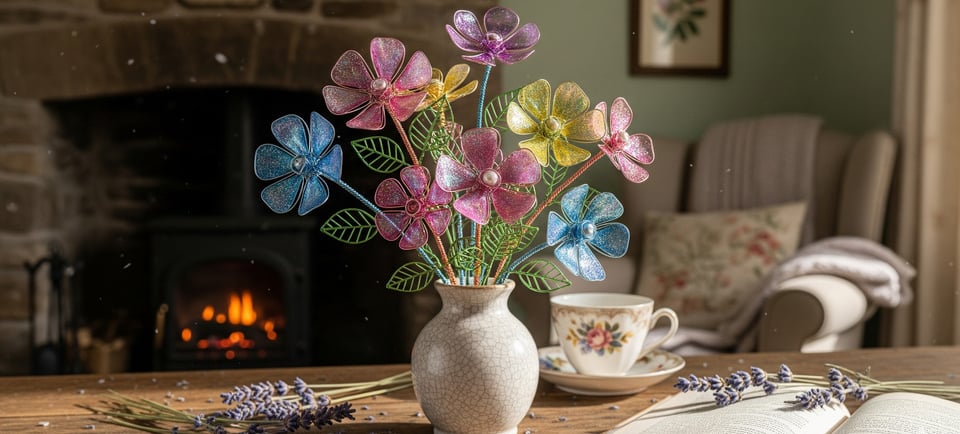
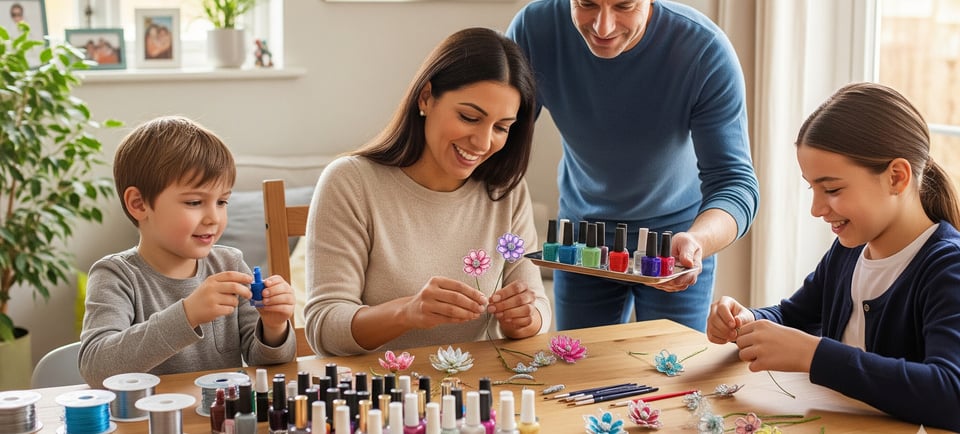
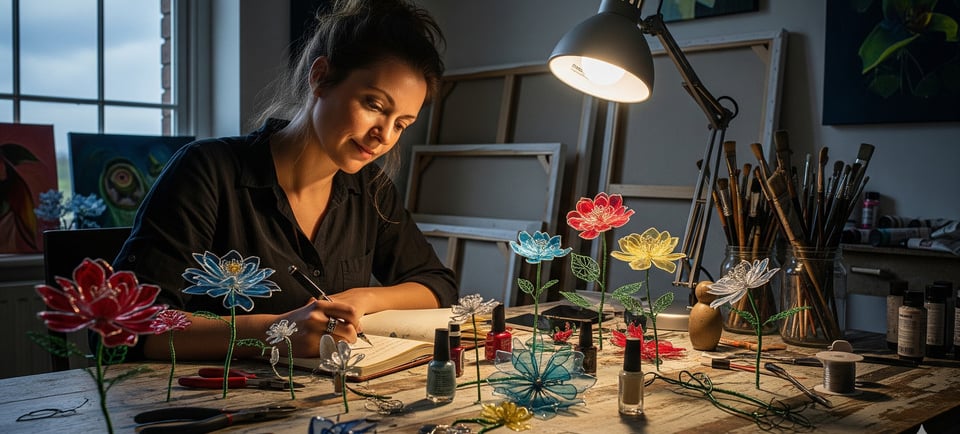
Ever wish you could capture that perfect moment, that perfect bloom, and make it last forever? It's a sentiment many of us share, especially when a gorgeous bouquet of fresh flowers starts to wilt. Well, what if I told you there's a way to create a stunning, vibrant floral arrangement that won't ever fade? You know, the kind of piece that looks like it's been plucked from a stained-glass window and brought to life. That's the magic of DIY wire and nail polish flowers. It's a craft that's deceptively simple, yet the results are so breathtakingly beautiful, you'll be left wondering, "How did I not try this sooner?"
The truth is, this isn't a new concept. In fact, it has roots in a delicate art form known as "dip art" or "American flower art." Back in the day, artists would use a special dipping resin to create these translucent, glass-like petals. But here’s the thing: you don't need fancy resins or professional equipment to get started. All you really need is a little bit of wire, some nail polish, and a good dose of creative spirit. Honestly, it's one of those projects that feels like you're playing, but you end up with something truly spectacular. Think about it: a little coil of wire, a splash of color, and you've got a work of art. It’s a wonderful way to bring a little bit of nature's beauty inside, without worrying about the pollen or the upkeep. And for those of us who just can't keep a houseplant alive, this is the ultimate win.
Crafting Wire and Nail Polish Flowers: A Step-by-Step Tutorial
Ready to get your hands dirty? Well, not really—unless you spill the nail polish! This project is all about precision and patience. It's a bit like baking, where each step matters, but you can always adjust as you go.
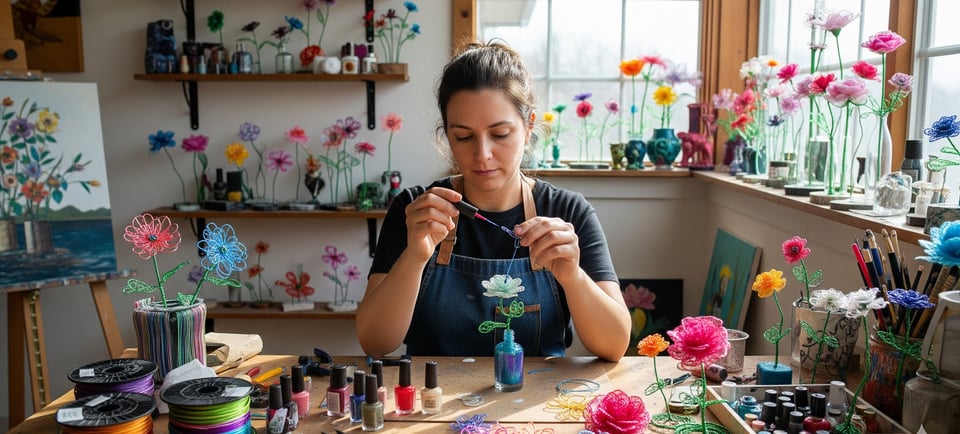
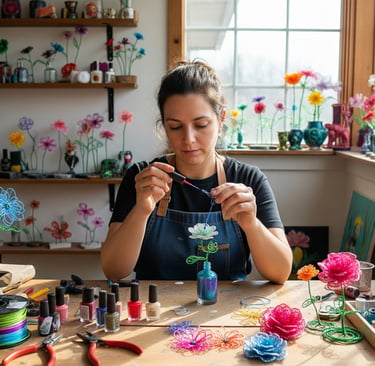
First off, let’s talk supplies. You’ll want to grab some crafting wire or florist's wire. The 20-gauge variety is a good starting point—it's thin enough to bend easily but strong enough to hold its shape. A marker or a round pencil is essential for shaping your petals. Of course, you’ll need a bunch of nail polish in various colors. Don't be afraid to mix and match; this is where you can really get creative! A quick-dry topcoat or even some sparkling polish can add a fun finishing touch. Finally, a pair of small pliers and a wire cutter will be your best friends. And here's a little pro tip: having a block of styrofoam or a piece of cardboard on hand to hold your drying flowers is an absolute game-changer. It prevents them from sticking to surfaces and keeps them pristine.
Now for the fun part: shaping your DIY wire flowers. It’s all about creating a frame. Start by wrapping the wire around your marker to form a petal shape. Twist the wire at the base of the petal to secure the loop. The number of petals you make is totally up to you—some flowers have five, some have more. It's a personal preference! Once you have your petals, gently curve them to give them a natural, lifelike shape. This is where your flowers truly begin to take on a personality of their own.
All About the Magic of the "Bubble"
Alright, here’s the thing about this project: it's all about that translucent membrane, that delicate "bubble" of polish that forms inside the wire frame. Getting this right can be a little tricky at first, but once you get the hang of it, you'll be a total pro. The secret? It's all in the dip.
One method is to dip the wire frame into a cup of wood glue first. Seriously, glue! It sounds crazy, but this creates a thin film that gives the nail polish something to hold on to. You dip the flower in, pull it out slowly, and a transparent film stretches across the frame. Once that's dry, you can paint over it with your favorite nail polish. Another popular method, and one that is often used by experts, is to just use the nail polish directly. For this, you want to make sure your polish isn't too runny. An older, slightly thicker polish works best. You just touch the brush to the edge of the wire frame and drag it across, allowing the polish to create a thin, bubble-like film. This technique requires a steady hand, but the results are so satisfying. It’s like magic.
What’s the Best Way to Use My Homemade Wire Flowers?
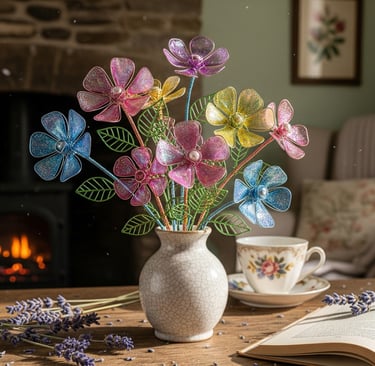
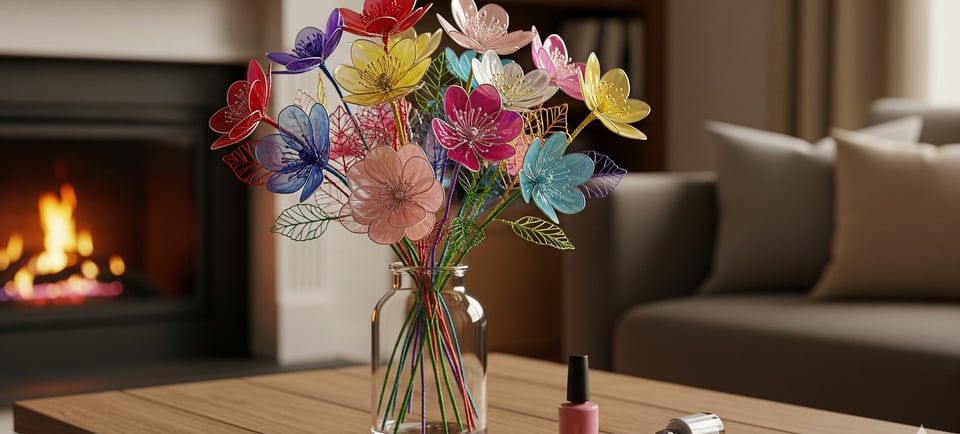
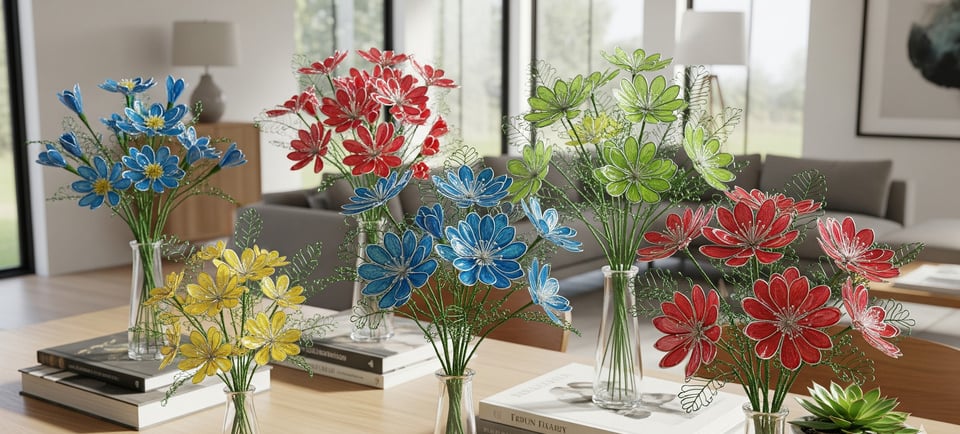
This is where the fun really begins! Your handcrafted blooms are more than just a pretty centerpiece. They can be so much more. One of the most common applications is creating a lasting bouquet or floral arrangement. Twist the wire stems together, add some delicate beads for the flower centers, and you’ve got a gift that will outlast any store-bought bouquet.
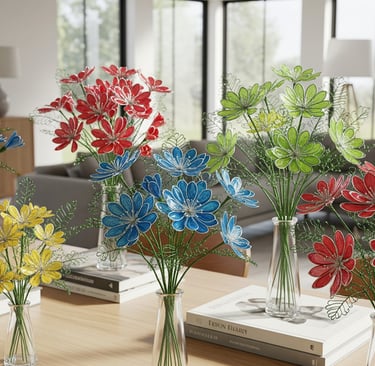
But why stop there? These translucent petal creations are perfect for all sorts of projects. You can turn them into unique flower jewelry, like a stunning necklace or a pair of one-of-a-kind earrings. Imagine a brooch with delicate wire flowers—it would be an instant conversation starter. They’re also a fantastic way to spruce up home décor. Mount them on a decorative branch, use them to create a whimsical wreath, or simply place them in a small vase for a pop of everlasting color. They even make great gifts, too. The thoughtfulness that goes into a handmade craft like this is something you just can't buy. It tells someone, "I made this just for you," and that’s a pretty special feeling.

FAQ: Wire and Nail Polish Flowers
Q: Can I use different types of wire?
A: Absolutely! While 20-gauge crafting wire is a great starting point, you can experiment with different gauges. Thinner wire (like 26-gauge) is perfect for tiny, delicate flowers, while thicker wire (18-gauge) can create a more robust, sculptural feel. You can even try using colored aluminum wire to add an extra element of visual interest to your creations.
Q: Do I need to use wood glue?
A: Not necessarily. As we talked about, some people prefer to skip the glue and just use the nail polish directly. The glue method is great for beginners, as it provides a solid foundation for the polish. If you find your polish isn't creating the "bubble" effect, the glue is a good way to troubleshoot.
Q: My nail polish keeps breaking! What am I doing wrong?
A: This is a common hiccup. The most likely culprit is either your wire frame is too wide, or your polish is too thin. For wider petals, you'll need to use a thicker or older nail polish. You can also try adding a second coat of polish once the first has dried to add strength. A good-quality topcoat can also help protect your delicate petals and give them a beautiful, glossy finish.
Getting Creative with Your Everlasting Blooms
Here's a little secret: these homemade flowers are a blank canvas. Don't be afraid to play around with different colors, textures, and finishes. Layering a shimmery topcoat over a matte color can create a beautiful effect. You can also add small beads to the center of your flowers to act as the stamen. This adds a level of realism and detail that really makes the piece pop.
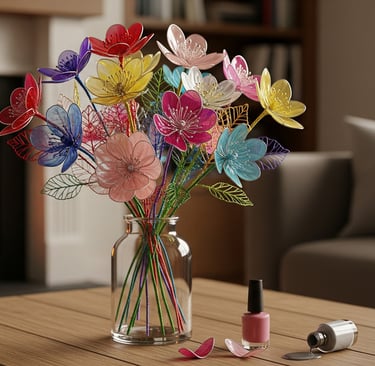
Beyond just the flowers themselves, think about how you’ll present them. For a rustic feel, you might wrap the stems with floral tape or a simple jute string. For a more modern vibe, leave the wire stems exposed and artfully arrange them in a clear glass vase. You could even create a whole bouquet and present it in a beautifully wrapped box. It’s about more than just the craft itself; it’s about the full creative experience, from the first twist of the wire to the final placement of your nail polish art.
The best part of this kind of project is that it's a journey. You'll probably have a few imperfect petals at first, and that's okay! A little bit of imperfection is what gives these handmade crafts their charm. No two flowers will ever be exactly alike, just like in nature. So, go on, give it a shot. You might just surprise yourself with how much you love creating these tiny, beautiful wonders that will last a lifetime.